Hardware Setup
Before you can use Domoticz to control your devices you must setup the communication to hardware device(s).
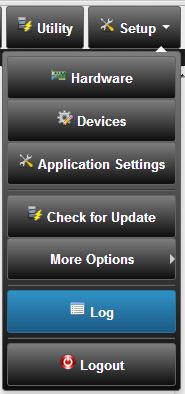
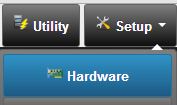
Select menu Setup - Hardware to add hardware. Devices will not show up in the Device overview list until the appropriate hardware is added.
Note: Be sure you have the setting "Accept new hardware devices" in menu Setup - Settings activated else no devices are created!
Supported Hardware
Domoticz supports the below mentioned hardware devices natively. Click on the hardware device link to see more details.
Devices that are not supported by the build in Domoticz Hardware but by the Python plugin framework can be found on the following page: Plugins
The list below is not all, there are various ways to interact with other devices. It is highly recommended to check the forum and wiki pages, including the hardware overview page.
For Zwave-JS-UI and Zigbee2MQTT see the wiki pages Zwave-JS-UI and Zigbee2MQTT
If you are a developer and want to contribute have a look here:
Add a Hardware Gateway
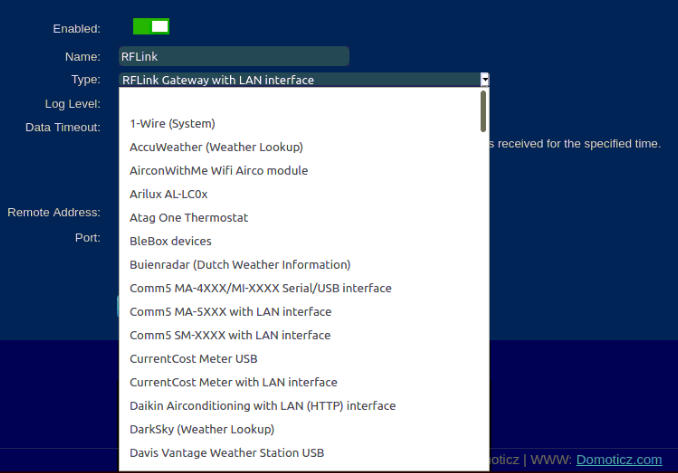
- Type: Select a Hardware Gateway from the pull down list. A Python Plugin first needs to be installed before showing up in this list.
- Enabled/Disabled: you can disable the hardware gateway. The created devices stay active (but greyed out) but will not be updated.
- Name: Enter a meaningful name for the Gateway
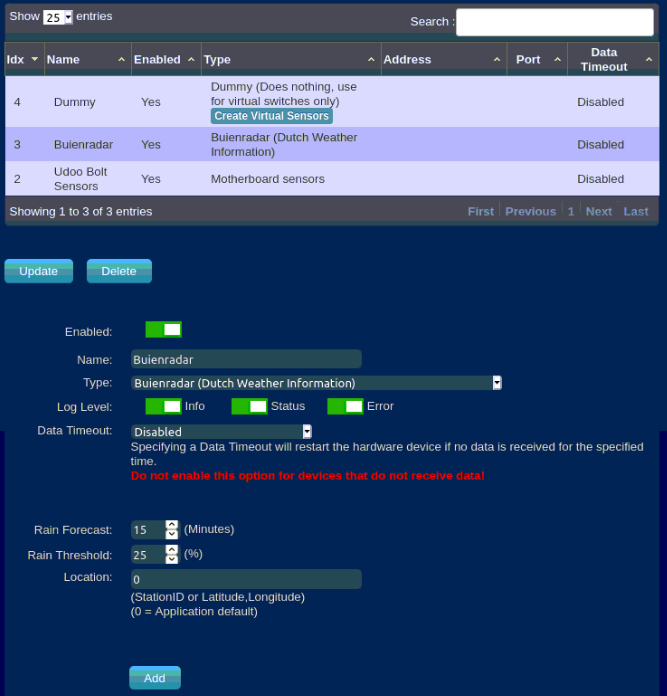
- Select Log Levels:
- Info: Shows info logging about the hardware and its devices in the log file or log page. This will normally generate the most log lines
- Status: Shows Status logging in the log file or log page.
- Error: Shows Error logging in the log file or log page.
- Data Timeout: Enable Data Timeout if needed (1 minute to 24 hours). Domoticz will restart the Hardware thread/plugin if after the set timeout still no data is received by the gateway.
- Select USB device or LAN IP address and port
Setting up a USB hardware
First make sure the device is recognized in the system. Domoticz automatically detects the USB port.
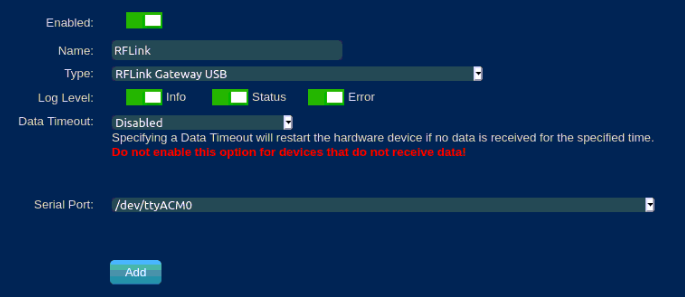
By pressing the ADD button, the hardware is added to the system and will automatically start.
Setting up a LAN hardware
First make sure you know the IP address and port of the device.
As the Domoticz is able to resolve hostnames it is also allowed to fill in an hostname instead of IP Address (if your local network supports it).
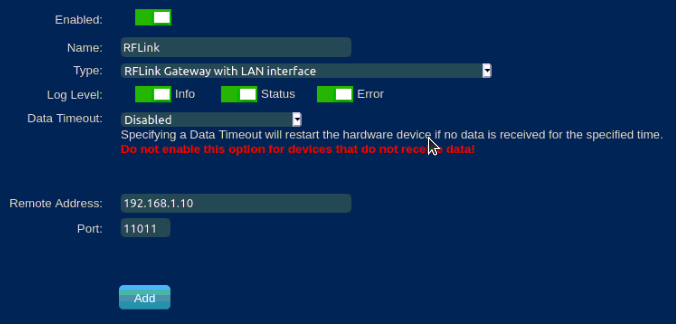
By pressing the ADD button, the hardware is added to the system and will automatically start.
Update Hardware Gateway
When hardware is added the overview of all defined hardware will be shown.
Some Hardware Gateways have extra buttons for specific actions like Dummy, RFXCOM, ZWave.
For the RFXCOM transceiver the different protocols can be selected by clicking the "Set Mode" button.
To update the basic configuration of an hardware gateway/plugin:
- Select the hardware from the list
- Change the configuration (eg IP Address, disable temporarily etc)
- Change Log Levels:
- Info: Shows info logging about the hardware and its devices in the log file or log page. This will normally generate the most log lines
- Status: Shows Status logging in the log file or log page.
- Error: Shows Error logging in the log file or log page.
- Data Timeout: Enable Data Timeout if needed (1 minute to 24 hours). Default value is Disabled. Domoticz will restart the Hardware thread/plugin if after the set timeout still no data is received by the gateway
- Click on Update button. The Hardware gateway/plugin will be restarted with the new configuration. Some hardware gateways require a restart of Domoticz to activate the configuration change.
To delete the hardware configuration (and all attached devices!!) select the Hardware and click on button Delete.
It is possible to share your (Domoticz) sensors with your friends or a second Domoticz installation in your holiday home. For instance you can share your Rain Meter, but also lights/switches that other people can control. For this, you need to enter an Administrator username/password in the application settings. Then you
can add users and assign sensors/switches to this user. An example how to set up sharing is detailed in Setting_up_Device_sharing.
To make your Domoticz server reachable when behind a NAT/Firewall router it's port forwarding needs to be configured. Consult the documentation of the router on how to setup a Firewall/NAT/Forward rule or check this howto.
Dummy Hardware
Another special hardware type is the Dummy Hardware. As the name implies this hardware does not communicate with the outside world. It's purpose is to be a placeholder for virtual switches and virtual sensors which can be used as variables in events and scripts. New virtual switches need to be added in the switches tab (Add manual light/switch). New virtual sensors (and switches) can be created from the hardware overview list. See the following page for more instructions: Dummy for virtual switches

Debugging Hardware
You can see a debug console (windows) by pressing the right mouse button on the Domoticz icon in the system tray or check the Log window by selecting menu Setup - Log.
For extra logging on debug level and to log to a log file instead of a window see the Troubleshooting page
