Netatmo
About Netatmo Hardware
Features supported:
- Temperature sensor,
- Set point switch,
- "away" mode switch,
- Heating Status Switch,
- Temperature & Humidity Sensor,
- Barometer Sensor,
- Rain Sensor,
- Air QUality Sensor,
- Sound Sensor,
- Wind Sensor,
- Alert Sensor for Security Events,
Installation
Be sure you have enabled "Accept new Hardware Devices" in menu Setup - Settings
New Netatmo Authentication method implemented from 2024.1
Log in on dev.netatmo.com (https://dev.netatmo.com/)
On dev.netatmo.com you create an App.
The Redirect_URI and Webhook URI should be empty.
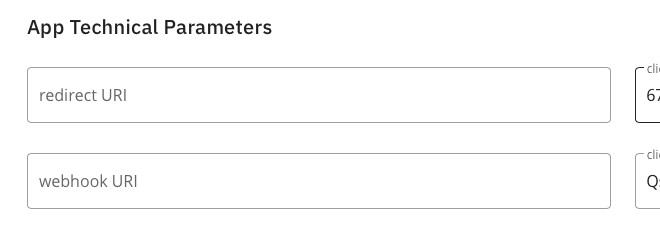
Press save 2 times.
This gives you the Clientid and Clientsecret
On the Hardware page from Domoticz (menu Setup - Hardware):
- Hardware Type: Netatmo.
- Name: This is the name you want for your Hardware module.
- Log level: Leave default
- Data Timeout: leave default
- Client ID:
Client IDobtained from Netatmo Development Site - Client Secret:
Client Secretobtained from Netatmo Development Site. - Scope: Select here the Scope for your Netatmo Devices, make sure you only select scopes compatible with your devices!
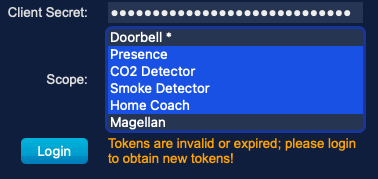
Press Button Login.
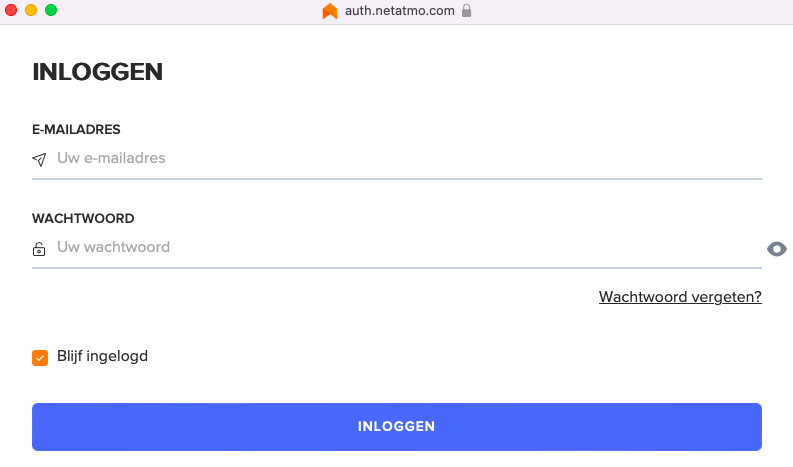
You can Login to Netatmo with E-mail and Password. (If you are already Login in you get directly to the Accept page.)
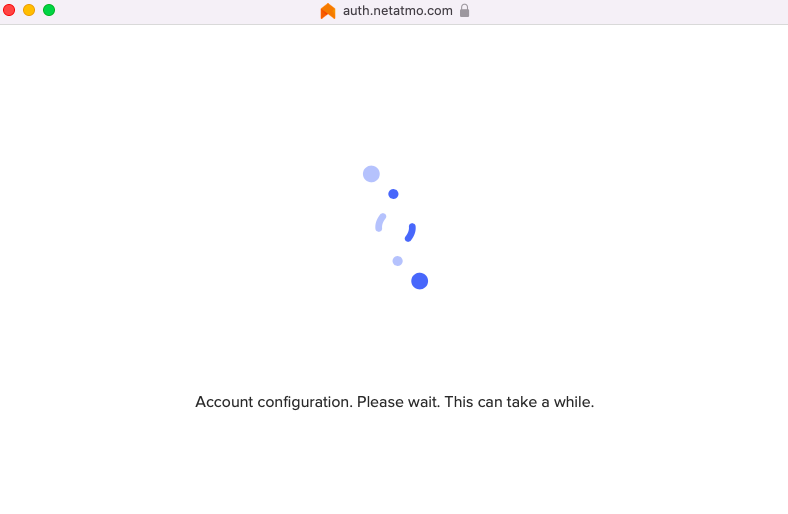
You see a configuration screen from Netatmo.
Then the Accept Page is displayed, You scroll to the bottom.

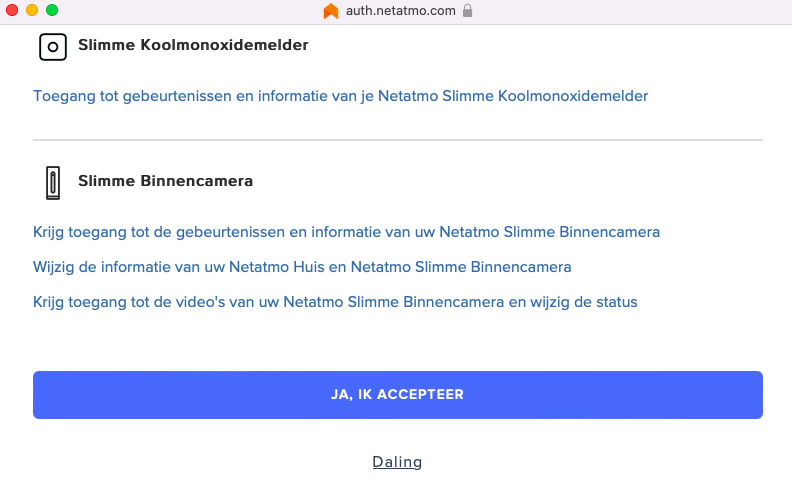
And press Accept.
This closes the window and when everything is correct the plugin works.
You get a message that nothing is selected.
Click on the ADD button to add the Netatmo Hardware to Domoticz.
In menu Setup - Devices the connected devices should be shown (can take some time)
With an existing Netatmo installation from older version
On the Hardware page from Domoticz;
Select the Netatmo Hardware Line
Fill in Clientid and clientsecret
Select the correct scope(s) for your devices
Press Button Login.
You can Login to Netatmo with E-mail and Password. (If you are already Login in you get directly to The accept page.
You see a configuration screen from Netatmo.
Then the Accept Page is displayed, You scroll to the bottom.
And press Accept.
This closes the window and when everything is correct the plugin works.
When you want to disable the gateway you select the Hardware Line on the Hardware page from Domoticz.
Switch the Enable button to Red and press Update
When you want to enable the gateway you select the Hardware Line on the Hardware page from Domoticz.
Switch the Enable button to Green and press Update
Do not use the Add button as it will create a new instance of the Netatmo gateway.
Problem situation
When you restart Domoticz or enable the gateway to close to the authentication then Netatmo Blocks the request,
and keeps blocking as long as there are continuous requests.
When I manually stop the system and wait 20 min then the Block is lifted and the authentication is OK
There is a access token and refresh token
supported Devices
At the moment, the supported Devices are;
- Weather station,
- Netatmo thermostat,
- Netatmo Valves,
- Homecoach,
- CO2detector,
- Smokedetector,
- Presence camera (Only Events),
- Welkom camera (Only Events),
- Door Tag,
Troubleshooting
So, you think if you have done everything correctly but things do not work (in some way) as you expected. Here are a couple steps you can do to find the cause.
Turn on debug logging
Edit your /etc/systemd/system/domoticz.service file to;
ExecStart=/home/domoticz/domoticz -www 8484 -sslwww 8443 -log "/var/log/domoticz.log" -loglevel all -debuglevel normal,hardware,received,eventsystem WorkingDirectory=/home/domoticz
Get help
The Domoticz forum is a great resource for help and solutions. Check the Forum.